
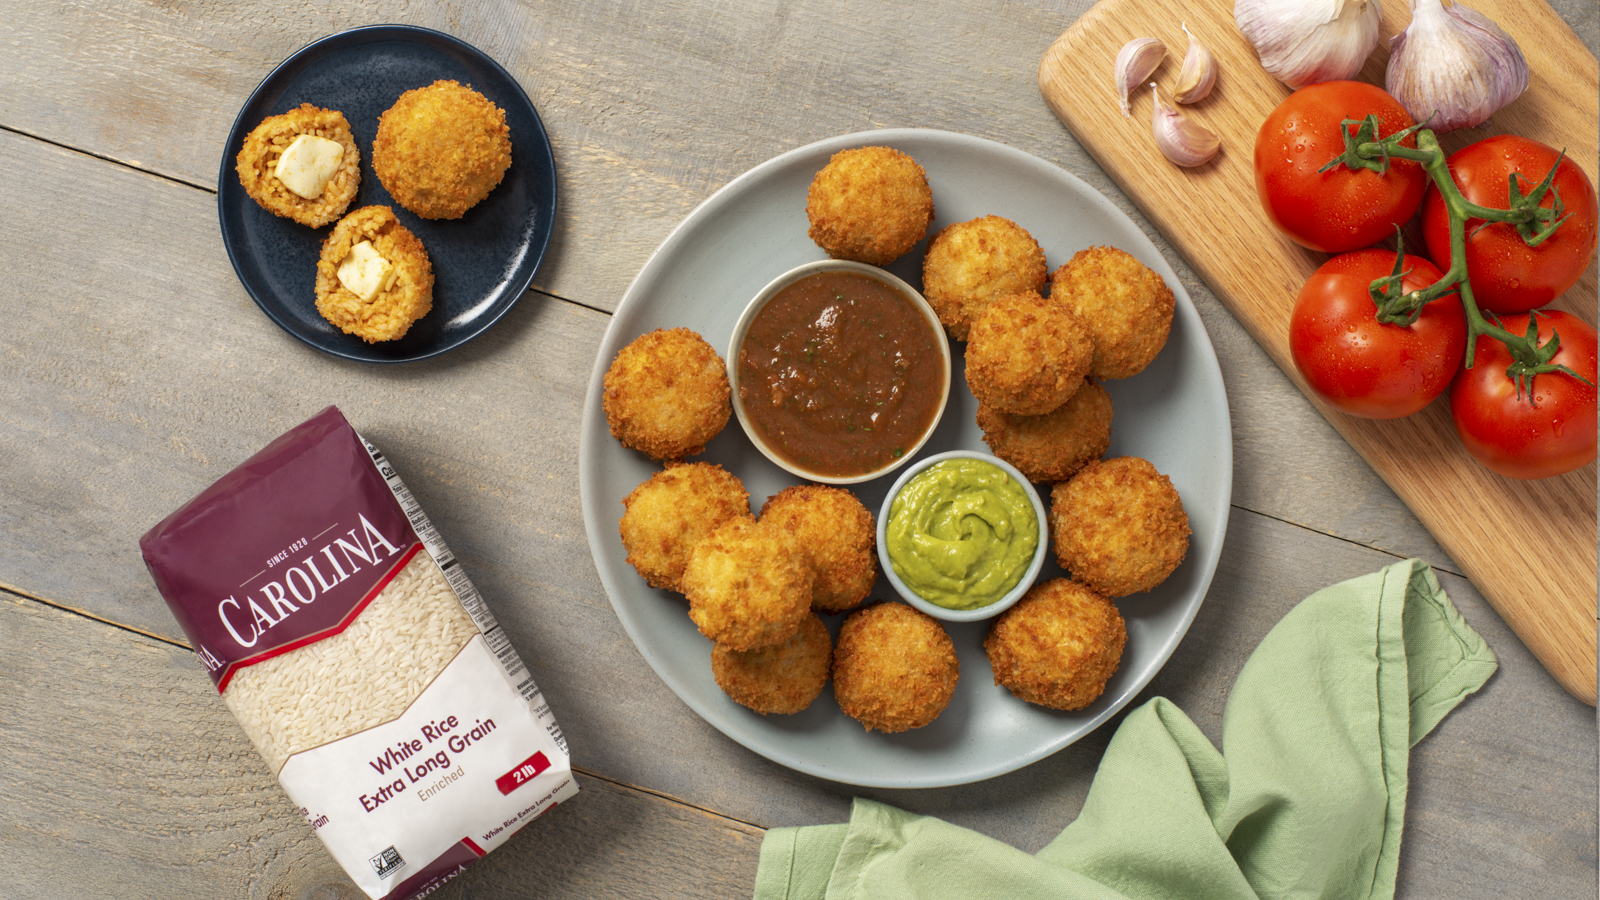
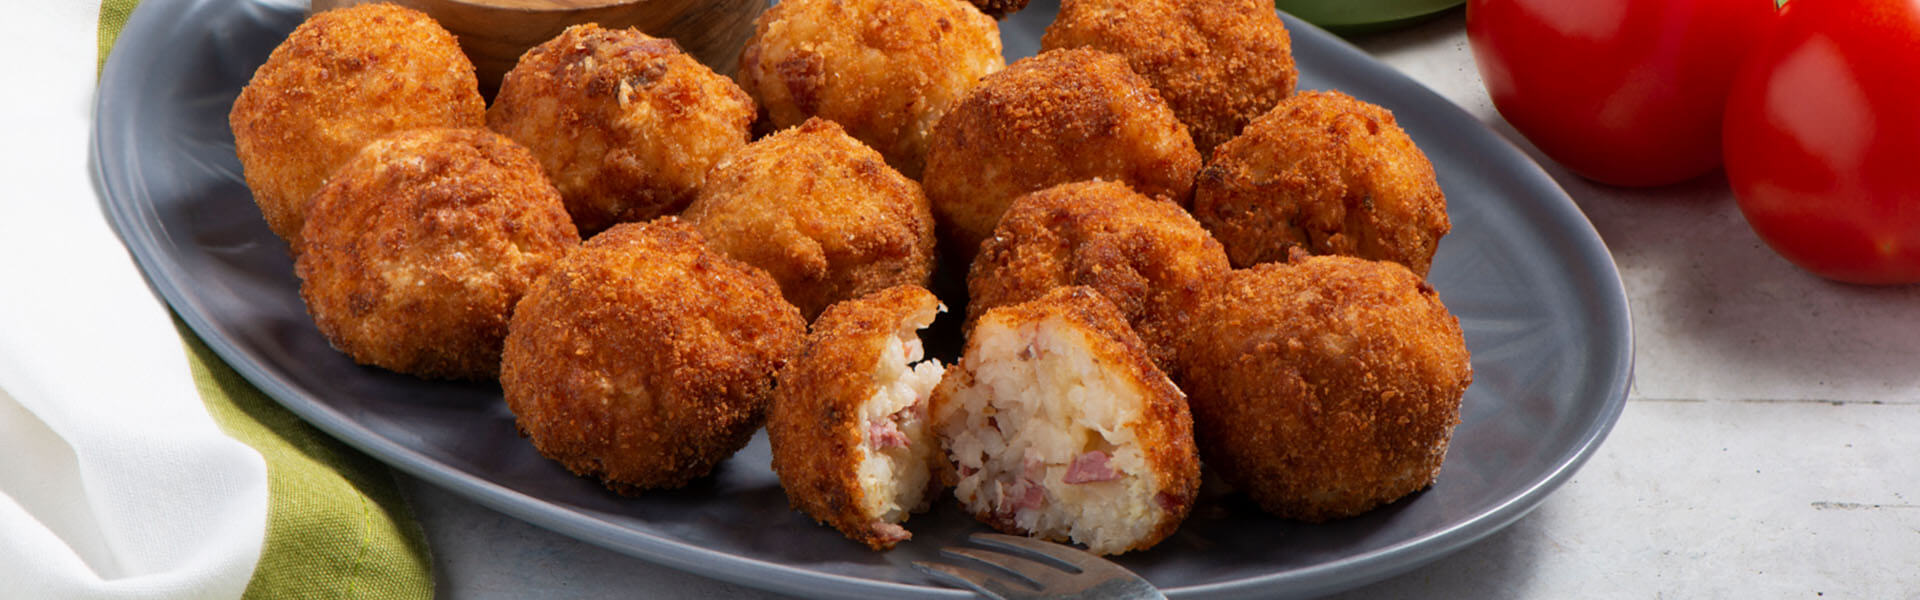
Bolitas de Arroz y Queso


Ingredients
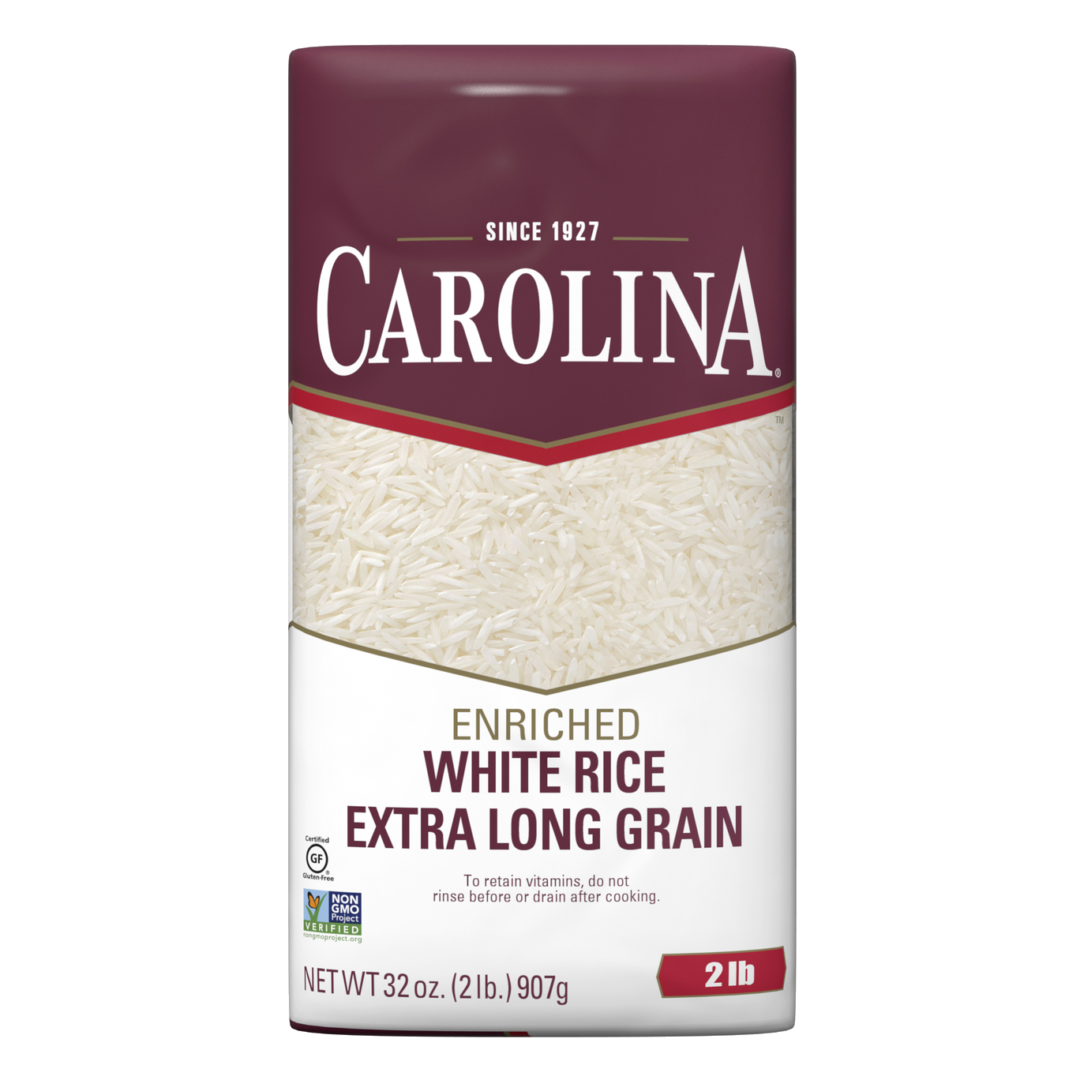
- 1 1/2 cups Carolina® White Rice
- 2 tbsp vegetable oil, plus more for deep-frying
- 1 small onion, diced
- 2 cloves garlic, minced
- 3 1/2 cups chicken broth
- 2 tbsp taco seasoning
- 4 eggs, divided
- 8 oz queso fresco cheese, cut into 3/4-inch cubes
- 1/4 cup all-purpose flour
- 2 cups panko breadcrumbs
Instructions
These breaded and fried rice balls make a tasty snack that the whole family will love.
Step 1
In large saucepan set over medium heat, add 2 tbsp oil. Add onion and garlic; cook, stirring occasionally, for 3 to 5 minutes or until starting to soften.
Step 2
Stir in broth, rice and taco seasoning; bring to a boil. Cover and cook, stirring occasionally, for 18 to 20 minutes or until rice has absorbed most of the liquid and is very tender. Remove from heat. Let stand, covered, for 10 minutes.
Step 3
Transfer to large bowl and let cool until able to handle.
Step 4
In small bowl, whisk together 2 eggs. Add to rice and roll mixture into fifteen 1/4-cup balls. Insert a cube of queso fresco into center of each ball and reroll to seal and enclose cheese. Arrange on parchment paper–lined baking sheet.
Step 5
To shallow bowl, add flour. In another shallow bowl, beat remaining eggs with a splash of water. To third shallow bowl, add breadcrumbs.
Step 6
One at a time, dredge rice balls in flour, dip in eggs mixture and roll in breadcrumbs, pressing to adhere. Arrange back on parchment paper–lined baking sheet.
Step 7
Meanwhile, in high-sided saucepan set over medium heat, add enough oil to reach 4 inches up sides of saucepan. Heat until shimmering or instant-read thermometer registers 350˚F. Working in batches, carefully drop rice balls into oil and deep-fry, turning once, for 3 to 4 minutes or until golden brown. Using slotted spoon, transfer rice balls to paper towel–lined plate to drain.
Recipe Tips
Serve rice balls with salsa roja or warm enchilada sauce.
Jazz up rice balls by adding 1 tsp Mexican dried oregano or 1/4 cup finely chopped cilantro or fresh parsley with the 2 eggs in Step 4.
Amazing Snack Idea
Look no farther than Mexican rice cheese balls if you enjoy Mexican food and are seeking for a tasty snack or appetizer. These flavor-packed cheese snacks will be a smash at your upcoming party or even as a delightful treat for yourself.
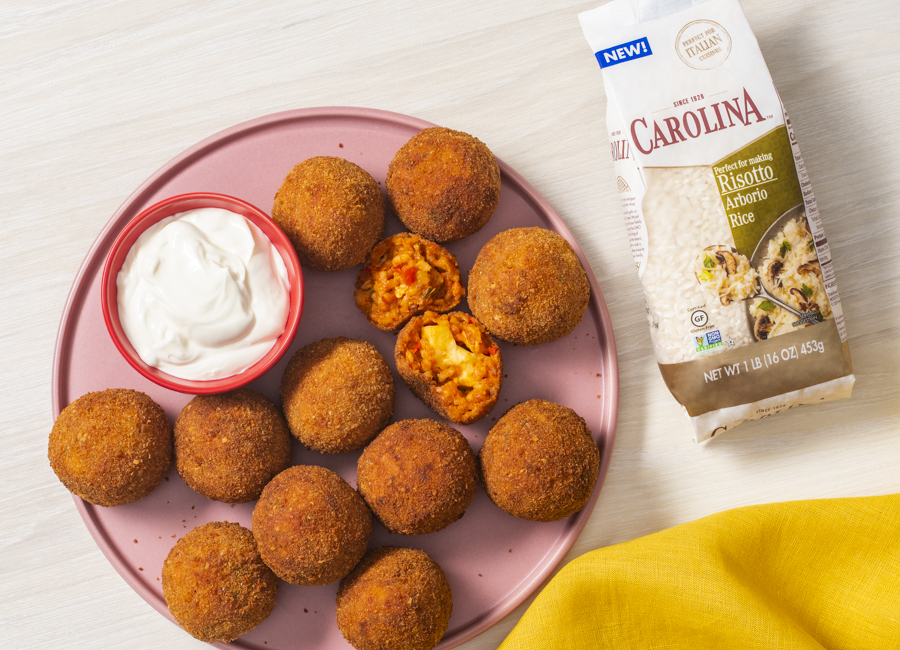
Cooked rice and tasty ingredients are combined to make Mexican rice cheese balls. Small balls of the mixture are then formed and filled with melty, gooey cheese. For a crispy exterior, they are frequently breaded and fried till golden brown. Have the kids assist you in rolling them into the ideal shape.
You can eat these delicious delights by themselves or with your favorite dipping sauce, such as salsa or guacamole. They are ideal as a party appetizer, a snack for game day, or even a lunchbox addition.
Give these delicious Mexican rice cheese balls a try if you’re in the mood for something cheesy, crunchy, and flavorful of Mexico. They’re simple to create and are sure to please your palate!
Recipe Tips
For more tasty recipes on cooking tips on topics like ‘how to cook rice in the microwave?‘, take a look at our website.
Looking for a new dinner idea? Try our: chaufa rice.